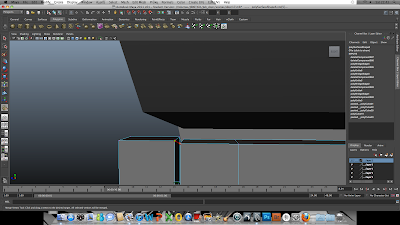
To make rope I need to make 4 sets of curved shapes (for realism). To start I made 4 cubes around the area of my door where I wanted it to be, from start to finish.
From there, I combined the first two squares so I can join a curve between them.
I then, selected the faces that looked at each other from each cube. I then clicked the 'bridge' tool options.
I then selected smooth path + curve and chose the amount of divisions I want between this space. I decided to use 15 divisions, as I don't need the rope to be heavily curved. I then clicked 'apply'.
From this procedure, I created a shape connecting both cubes, or also known as a 'Bridge'. However, in this bridge is a curve that has multiple vertexes that can change the shape of the object.
I went inside the object and selected the curve by right clicking on it and choosing 'Control Vertex'
From there I moved some of the vertexes to create that curved shape.
I repeated this process around the door peramater. All I had to do to finish was to sew the final cube to the start cube. I did this by using the 'Merge Vertex tool' and joining/sewing the two shapes together.
The final rope shape product!


No comments:
Post a Comment